Hey all
I have decided to have a go at doing a guide for you all about how to do a fiberglass install.
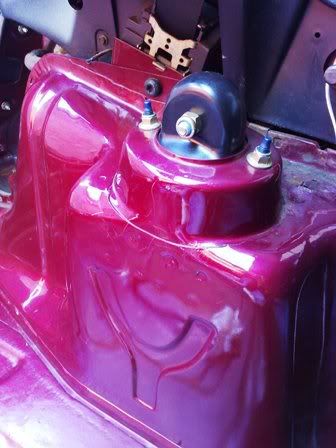
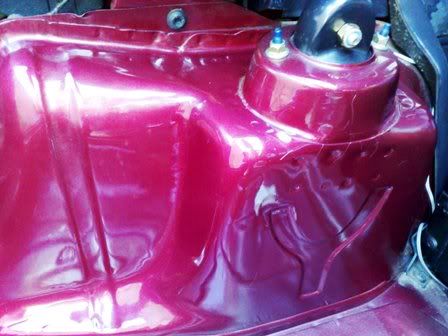
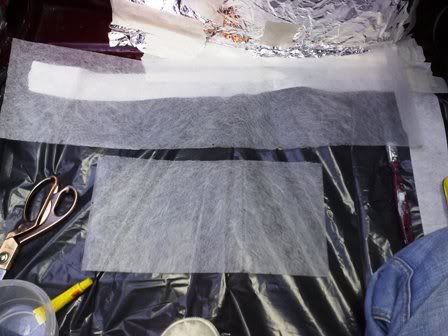
First of all I had to decide where and what I was going use to make the moulds. As you can see from the pictures I had chosen to form them from (I don’t know the name of them but im sure you can tell from the picture’s.
Make sure that you degrease the entire area that you are going to use.(I just used some of the old fairy liquid)
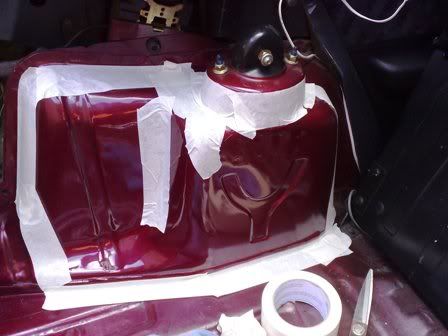
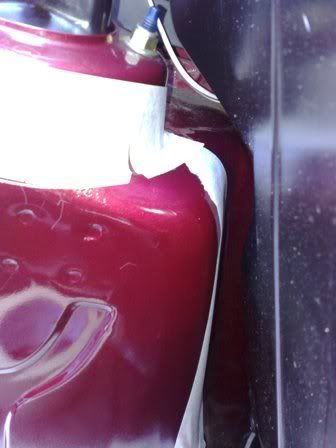
When you have got both sides of the car areas that you are going to use clean, start to mask off the basic shape that you would like to make using (masking tape) I can’t stress how important it is not to use any other type of tape i.e. brown sticky tape gaffer tape selo tape. The reason is because the epoxy resin will just melt through it and it does not with masking tape. (I don’t know why though) but you would end up with the mould stuck in place and you aren’t gonna get it out.
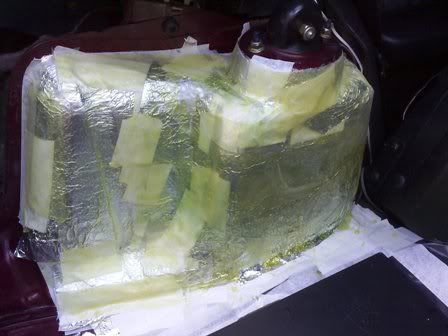
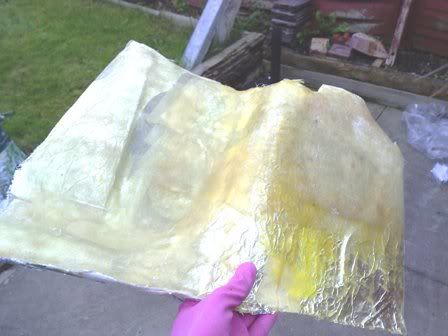
Have quick check on both sides to see if the seats are going to be obstructed by anything where you have masked off. Because next we are going to start to put on the tinfoil.
To start of i had created some templates out of paper KEEP THEM YOU WILL NEED THEM . And then cut out the shapes in tinfoil, I don’t think we need a picture of this but I’ll show you one or two anyway, I think we get the jist of how this would look.
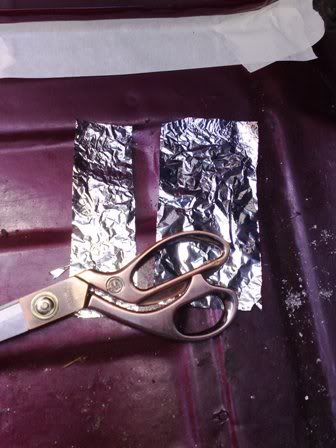
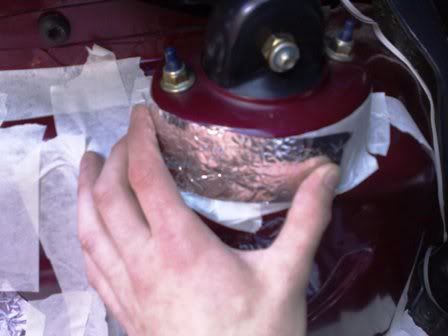
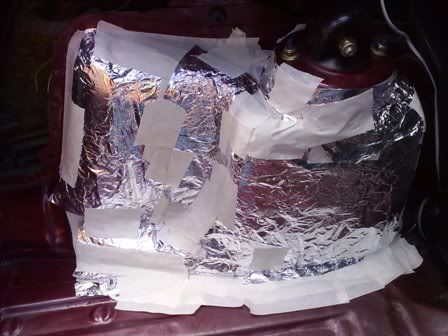
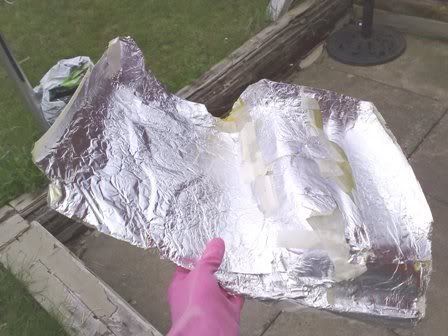
Use masking tape to stick all the tin foil down until you have covered the entire area where you wish to do.
The next step is to place something in your boot to protect you paint work or any carpet you have in the back (I just cut up a bin liner) trust me you are going to have small blobs of resin on whatever you are going to use to protect your car.
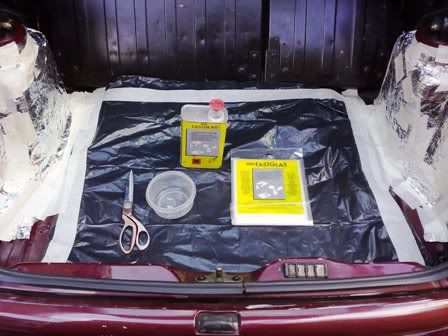
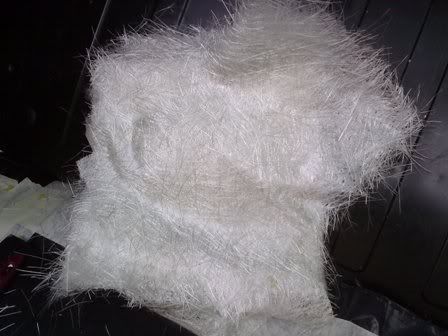
As you can see from the last picture I have a packet of fiberglass matting in the middle of the boot.
That is a very fine mesh you will have to use that first on your project just to get a basic shape. You can get it from halfrauds. (I’m not sure where else you could get the products from) go back to your templates I said you would need em.. IF YOU HAVE ANY ALERGIES PLEASE MAKE SURE YOU ARE WAREING GLOVES WHEN DOING THIS, WELL TO BE SAFE GLOVES AND DUST MASK. And cut out the shapes that you used for the foil on the fine mesh. The reason for this is because when you have mixed up the epoxy and put in the hardener in you will have to work fairly quickly to get all the area covered. If you ain’t got the shapes you will have to cut as you go along. And by the time you have prized open you scissors everything will have gone off.
Just two as an example
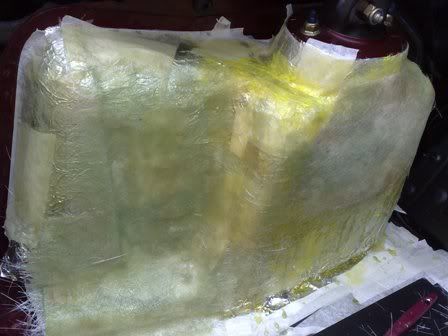
When mixing up your resin make sure you are in a well ventilated area AND ARE USING A MASK. Paint on the resin making sure that you use all the pieces that you have cut. Leave it to dry out for about 1 hour to be sure its dry. You should end up now with something like this.
The next stage is to use a thicker matting to put on to strengthen your mould (think safety first and use the same principles as you did for the first stage of glassing. leave your project for an hour to dry off again. you should end up with this.
To get the mould out I used 2 screwdrivers. To prize it out don’t use to much force or you will end up cracking your mould and then you will have to start the whole process again.
Due to my lack of funds I cannot continue the project. But I will post updates when I can.
I hope this is going to help anyone who has got the confidence to do something like this, because this is my first time doing something like this.
_________________

Laziness is nothing more than the habit of resting before you get tired.