Guide fitting a replacement drive shaft gaiter
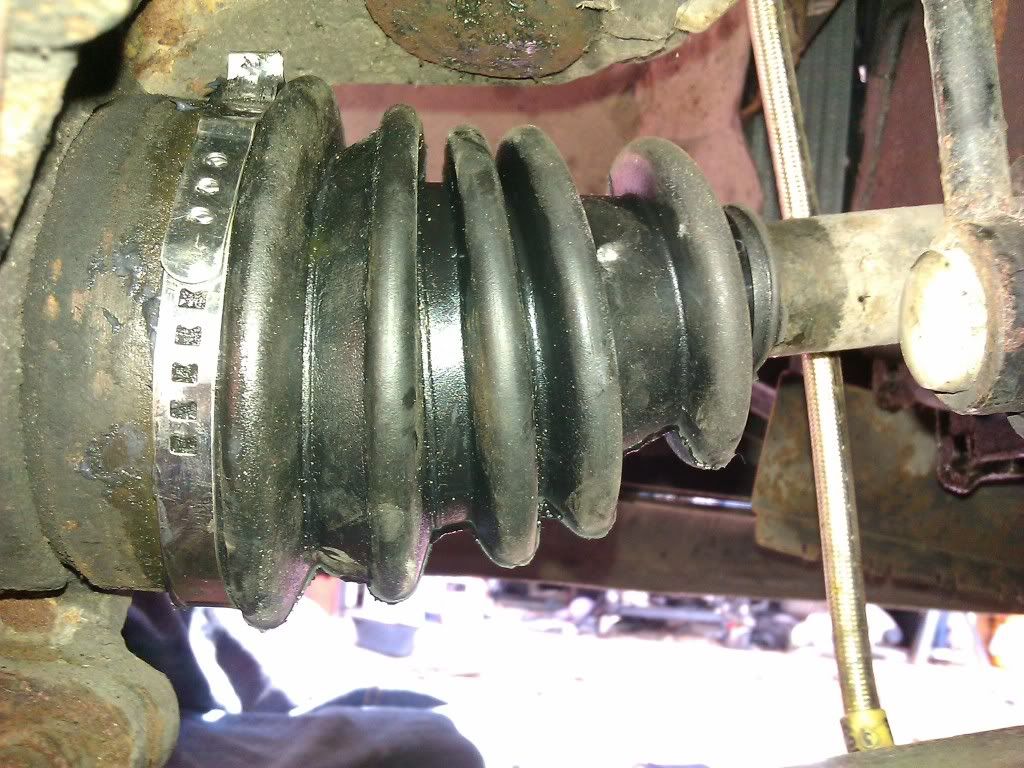
When replacing my disc’s and pads, I noticed one of the outer rubber driveshaft gaiters was split. To replace it I could have removed the hub and fit a ‘proper’ one or take easy way out and fit one of the ‘split’ stick together type.
I assume theses are not as good as the proper ones, but fitted one before and seemed to work and would get you back on the road and through a MOT for about ½ hours work with no special tools.
As I had the disc’s and callipers off anyway it was easier to do as it provided more access.
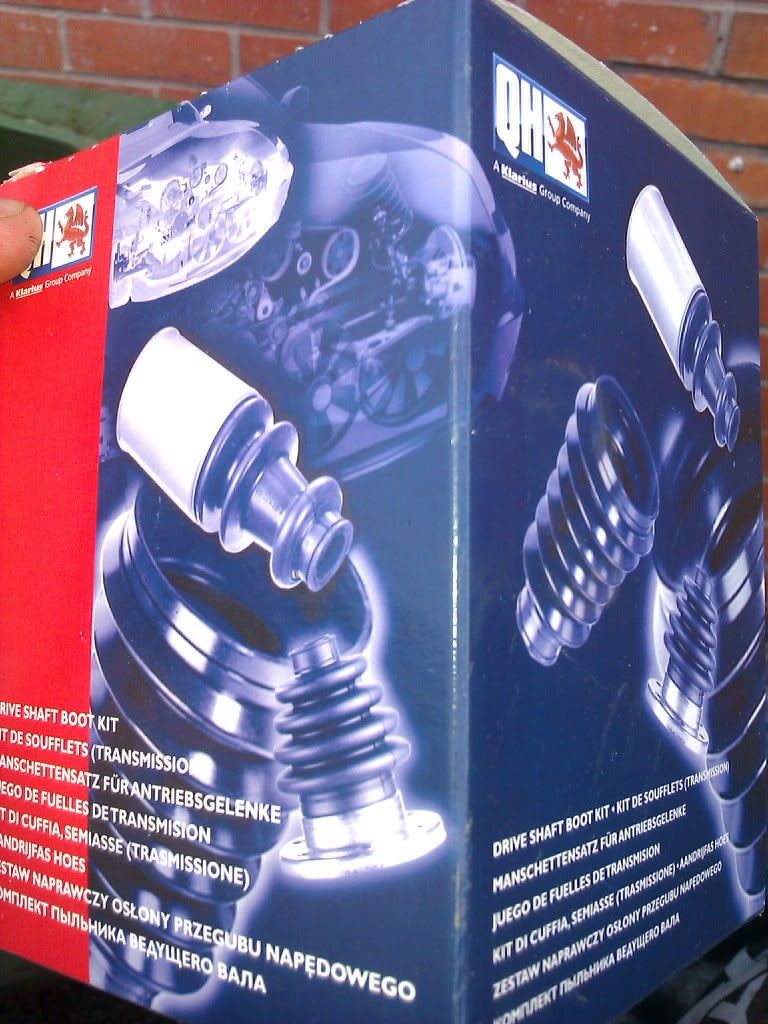
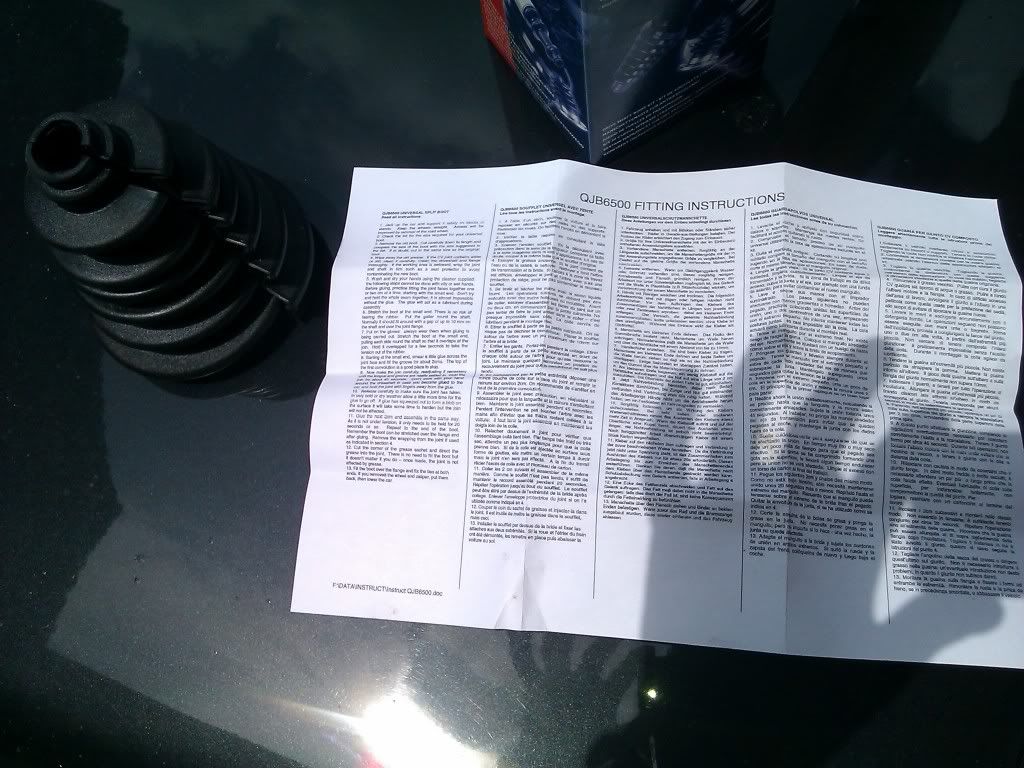
This was the kit and instructions, follow the manufactures instructions this guide is just to add some photo’s
First job remove the old metal clips from the old gaiter

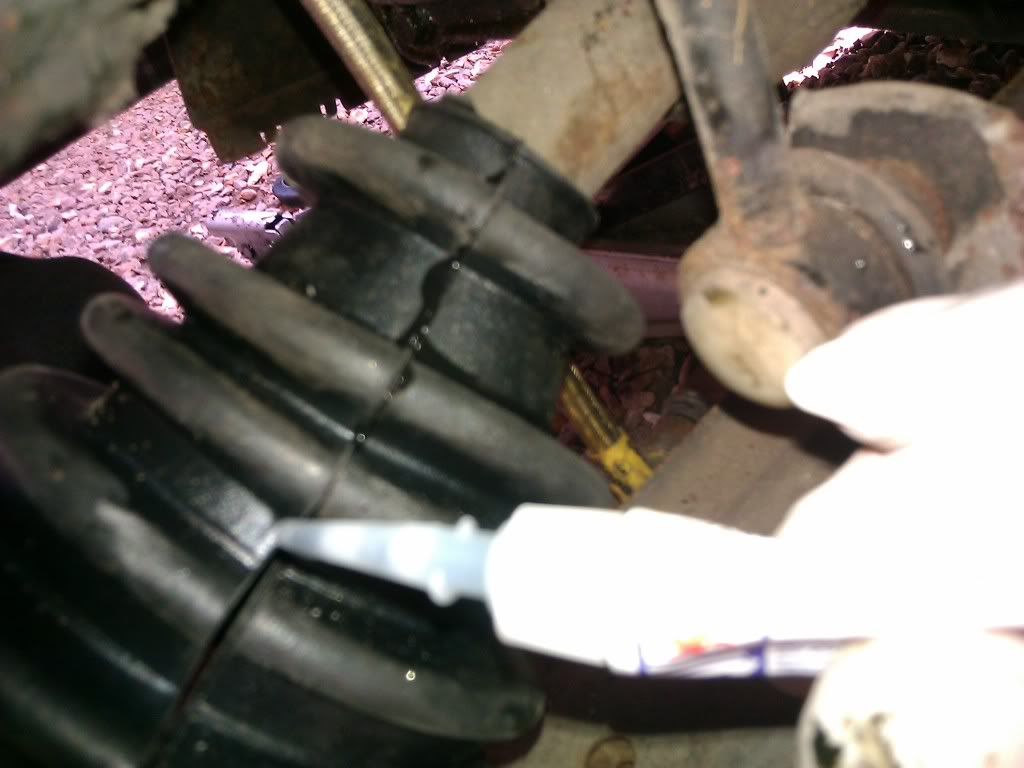
And cut old one off

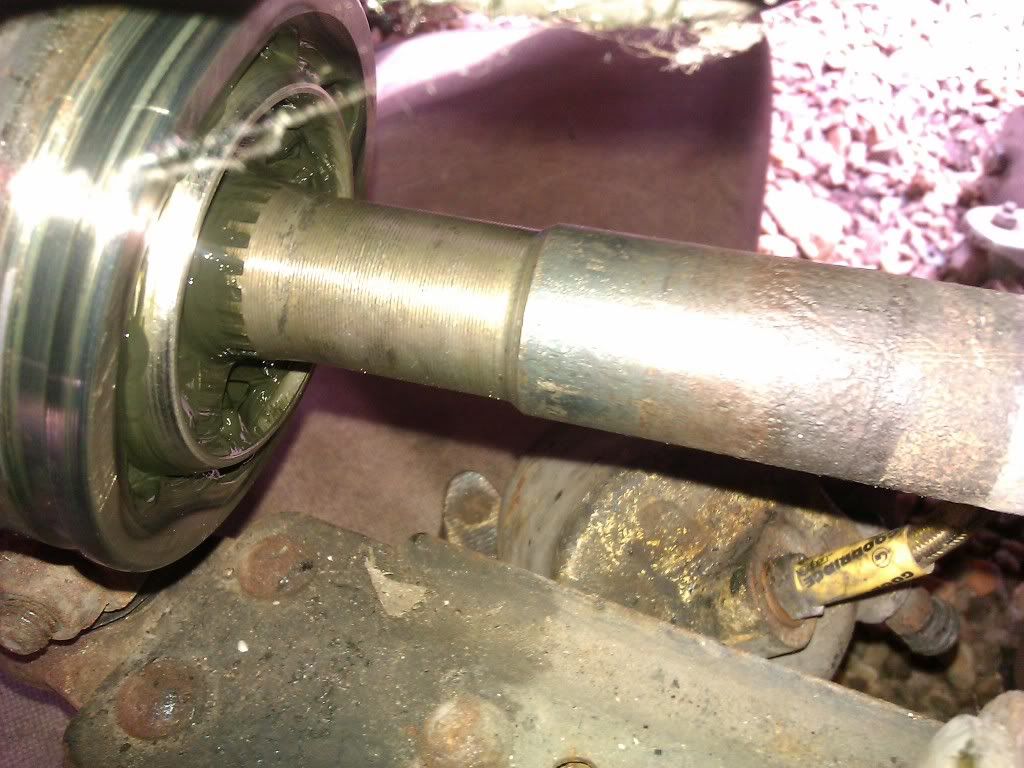
Once removed inspect area of CV joint for and damage or water/muck ingress as gaiter could have been split for some time.
Wipe for the old grease
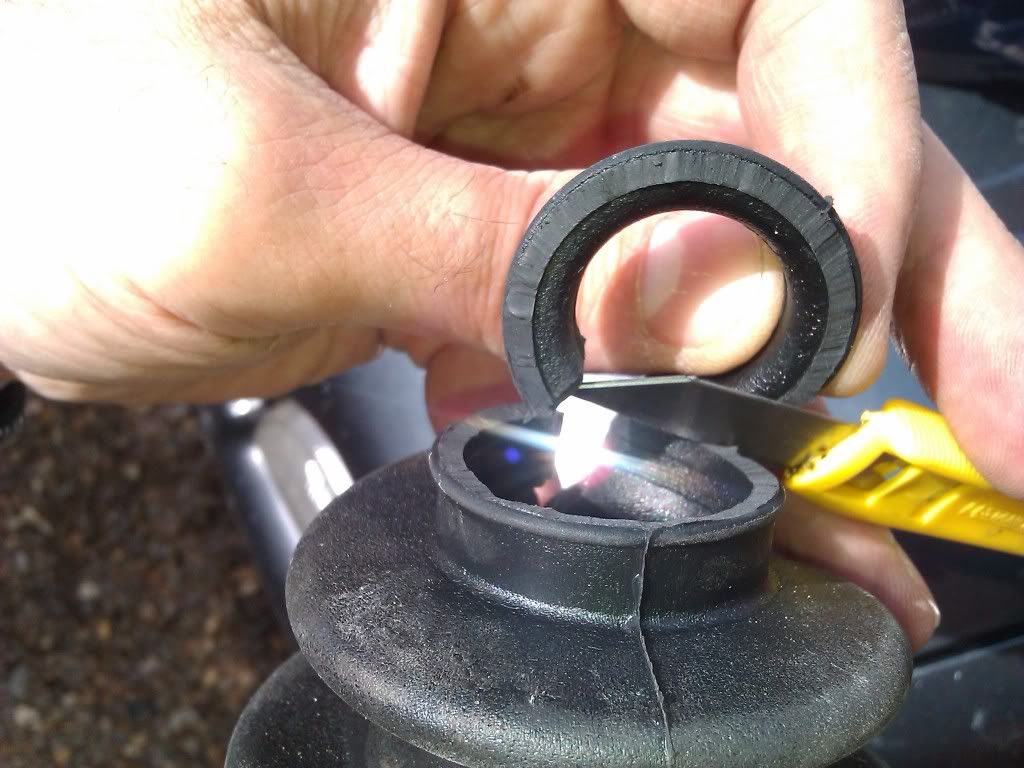
As the kit I brought was a universal one it covered loads of cars and needed one section of both ends removed to fit the shaft and hub sizes, one thing instructions is make sure hands are clean and gloves worn so not to get any grease/muck on the joint area as glue wont stick
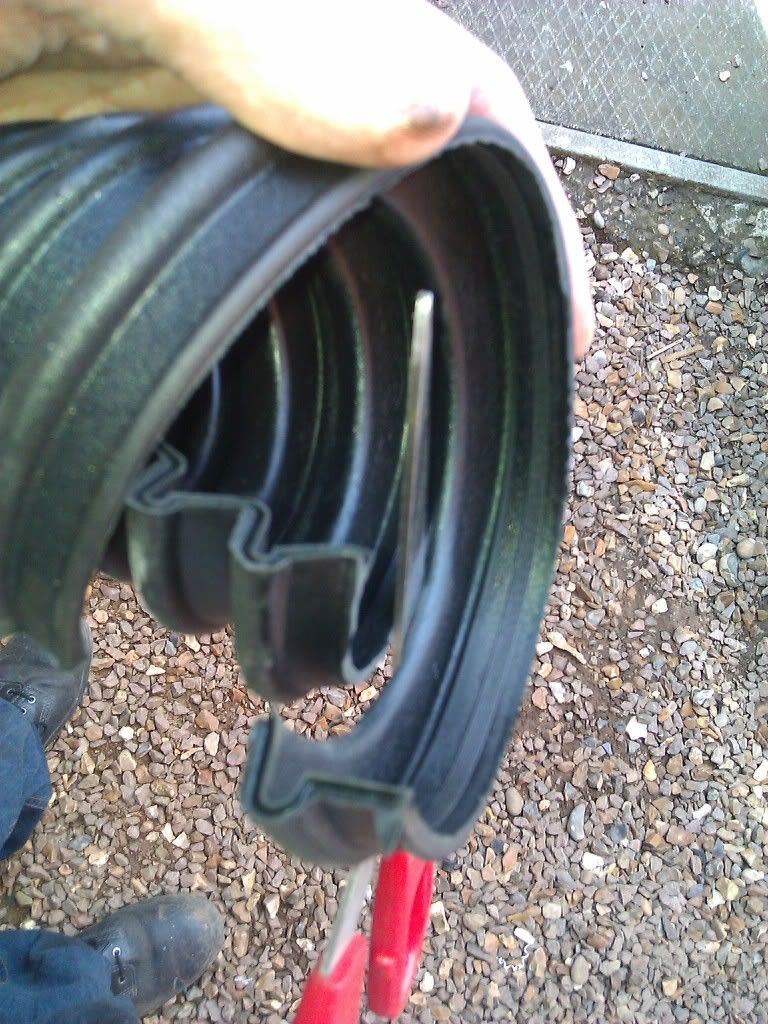
Put the gaiter around the shaft and start to stick from the small end along the joint couple cm at first and hold together till set, then continue along in small sections at a time
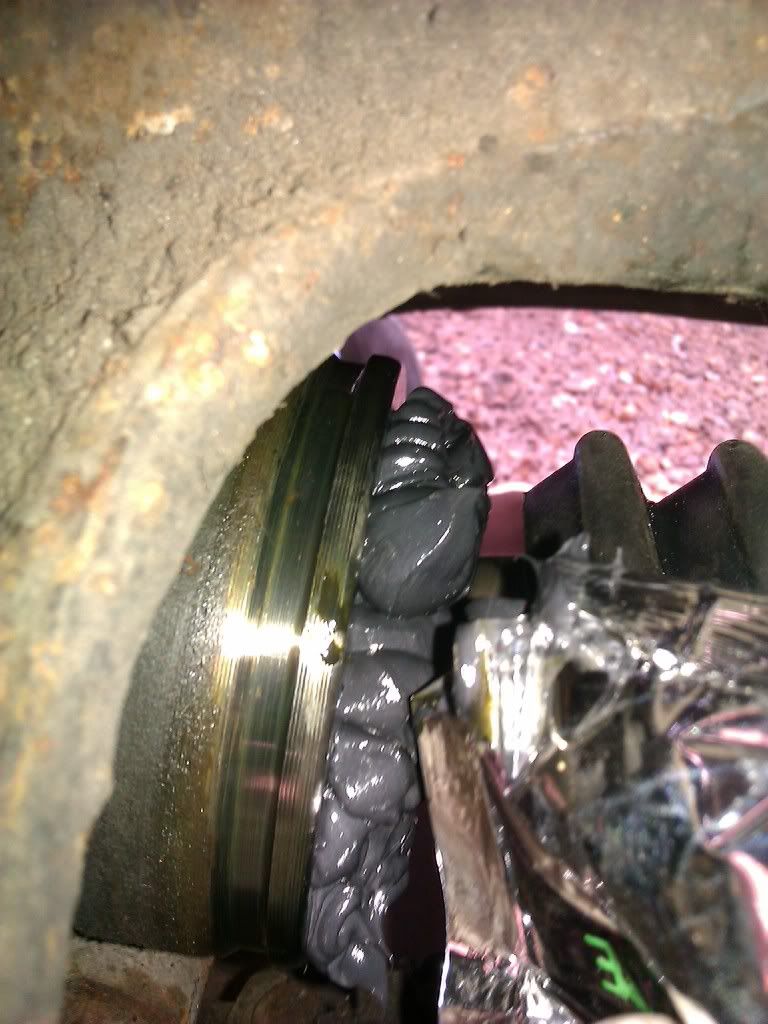
Leave till set then slide gaiter back away from the hub and re-fill the CV joint with new grease
Then slide new gaiter over hub and into position making sure sits ok fully on hub and square, rotate shaft couple times to make sure all ok

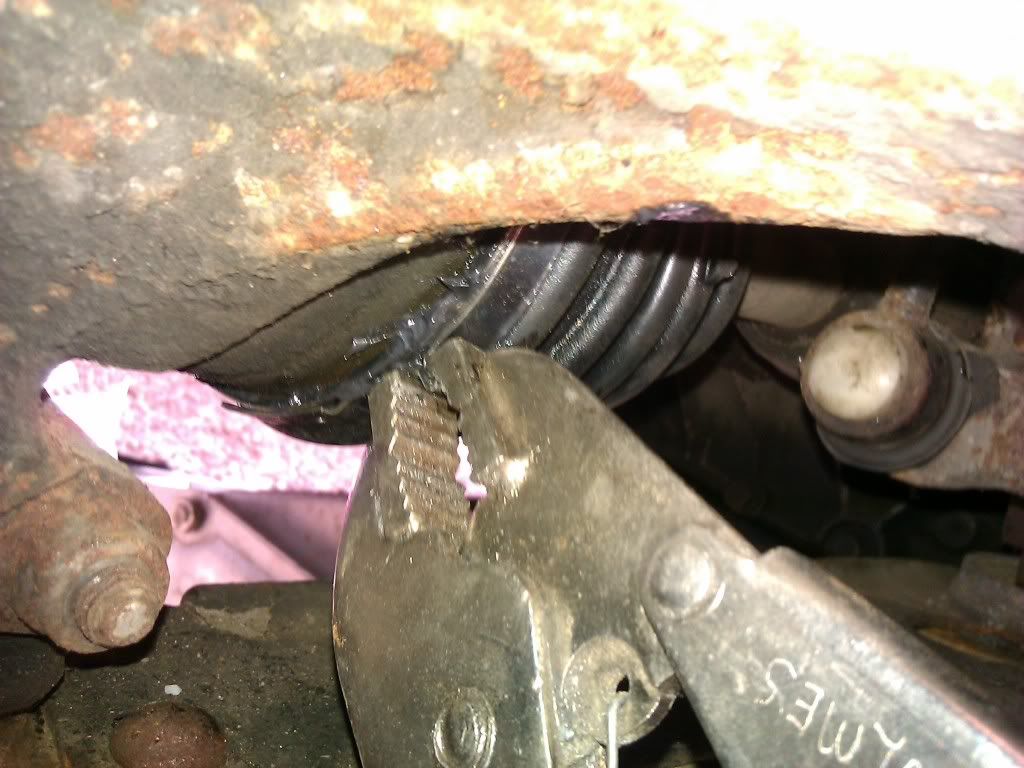
Finally fit the clips to secure the new gaiter, kit came with new metal clips, I had to cut some off it, I used the large one nipping it up with a pair of mole grips
But on the small end I used a cable tie

This was the old one

This is Job done