As promised here is the tutorial, should be fairly idiot proof, just post up if you need help

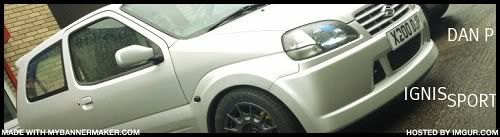
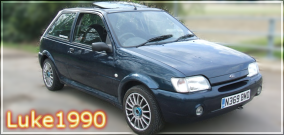
by the end you will be easily able to make something like this:
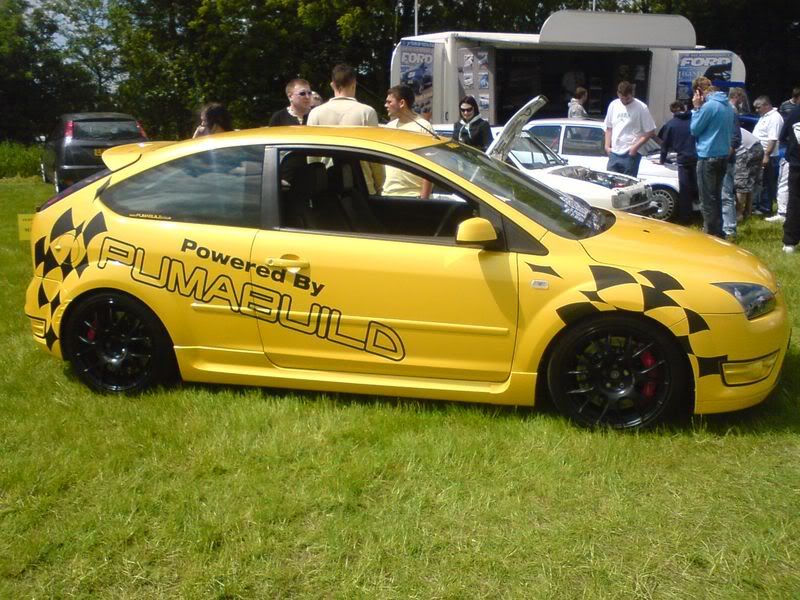
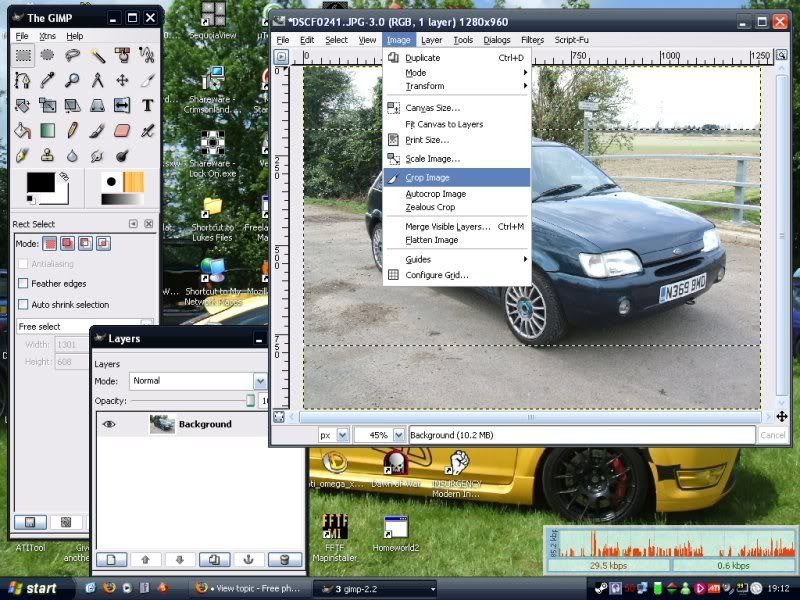
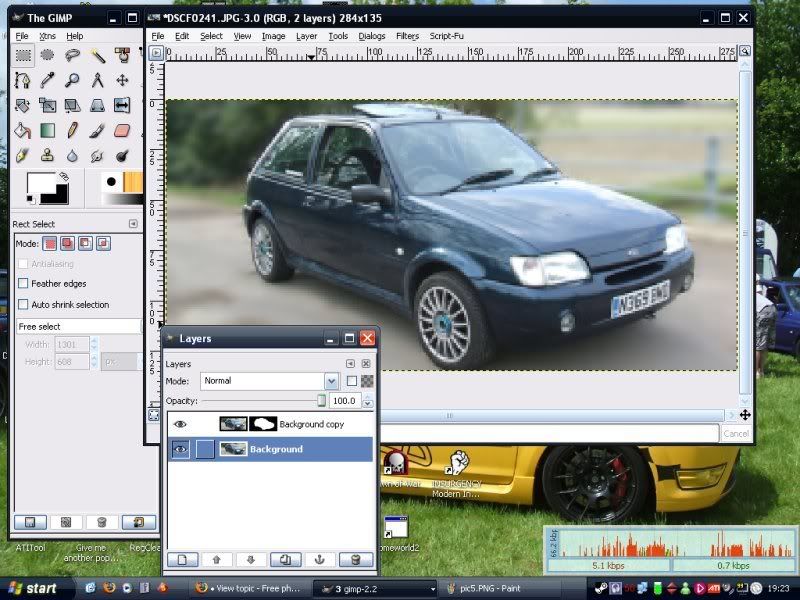
Firstly open your image in GIMP, the using the top left tool (highlighted) draw a box around the area you wish to be in your sig, ive found that its best to make this selection as wide as possible and dont make it too tall.
Then crop the image, once youve cropped you need to "scale image" set the height to 135 px and continue
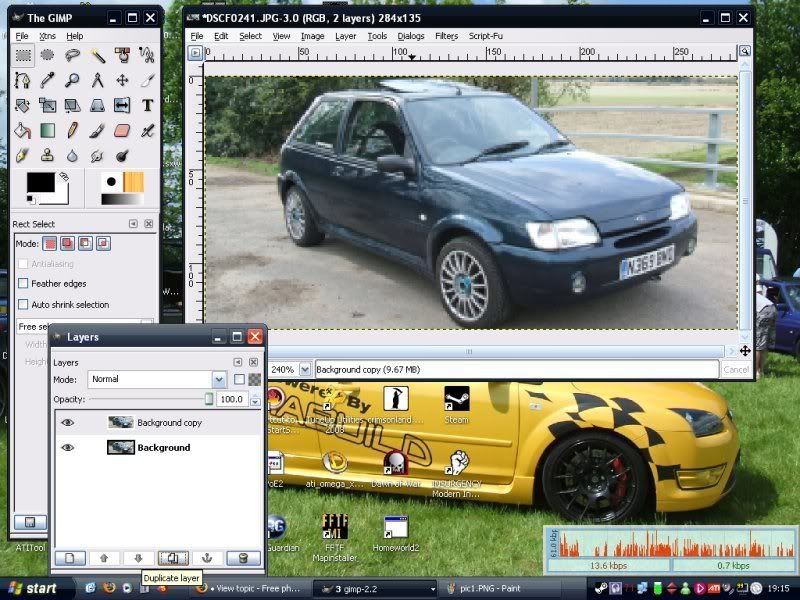
Duplicate the layer
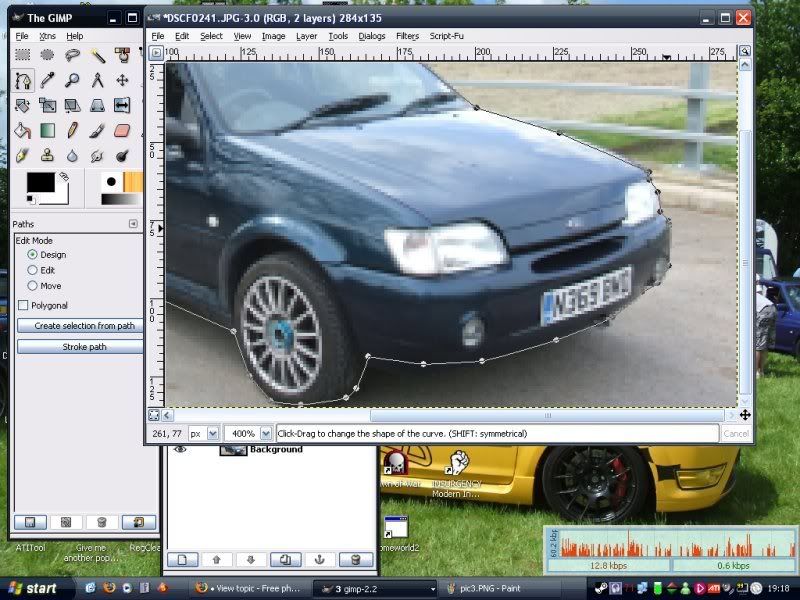
now we are going to use "paths" to basically cut the car out nicely.
dead simple, click on the edge of the car to place the first marker, click a bit further around the body and a straight line will join the two points. Continue dot to dot all the way around the edge, you dont need to be too neat
go all the way around and make sure your last "dot" is as close to your first as possible, easiest way is to make one close ish, then click and drag it on top.
Now press "enter" to confirm your selection
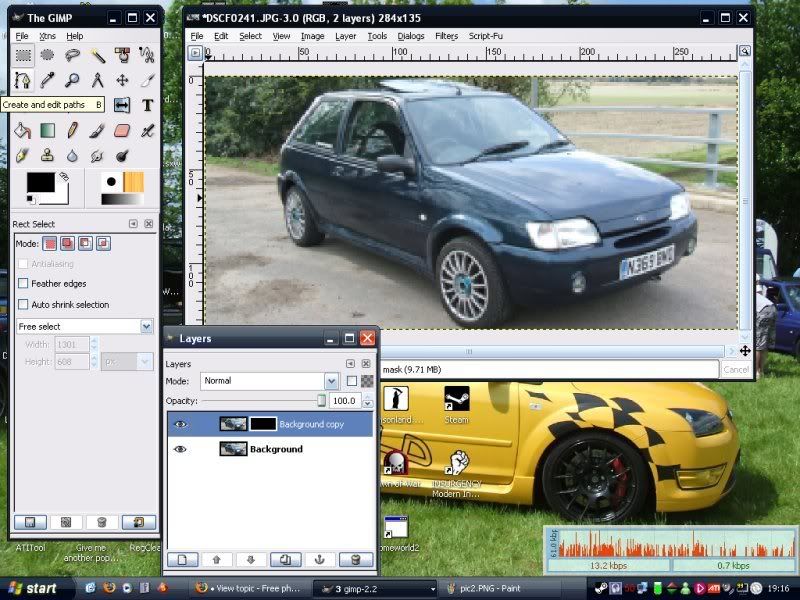
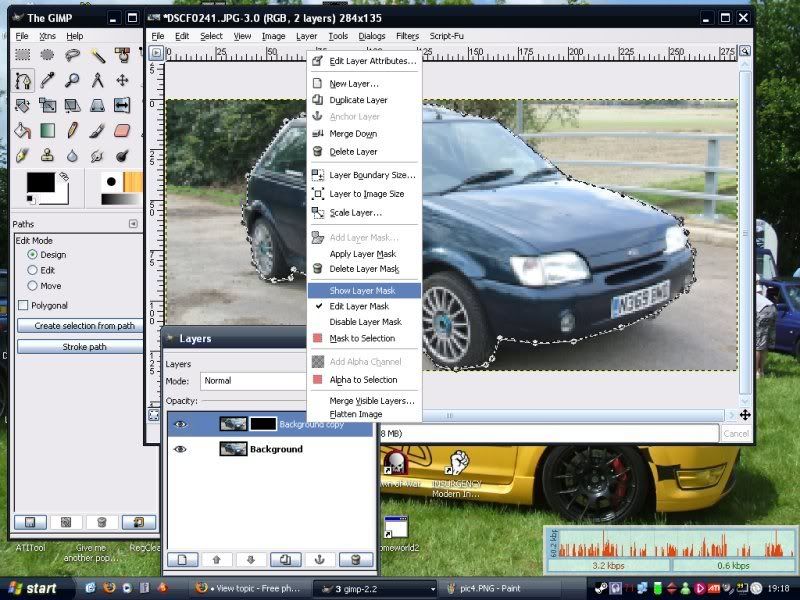
Missed a picture here, but basically go back to the "layers" box, right click on the top layer and click "add layer mask" in the next pop up box, select "black" and continue.
Right click it again and follow the piccie
. Layer masks are an easy way to choose which bits of the layer are visible.
Back the to the main image, expand your selection, by
2 pixels
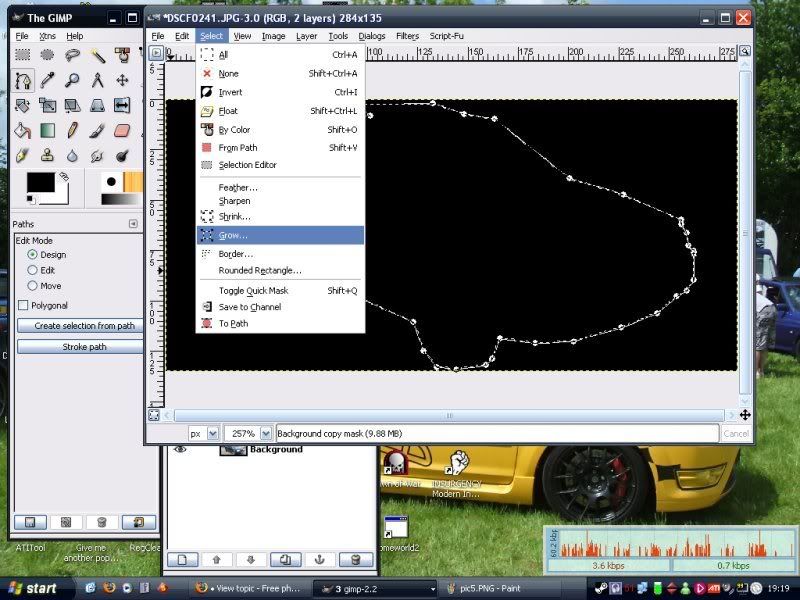
Next you need to fill the car selection with white. You do this by clicking the "fill" icon, second from the bottom on the left hand side. If you hover the mouse over the icons you get a quick description. The layer mask only reveals the areas that you paint white, gray is semi transparent

Now we blur the white car shape to make the transition more gradual, i.e. removes sharp edges from the car you have just cut out. This is why we didnt need to be very neat earlier.
In the dialogue box, blur 5 pixels.
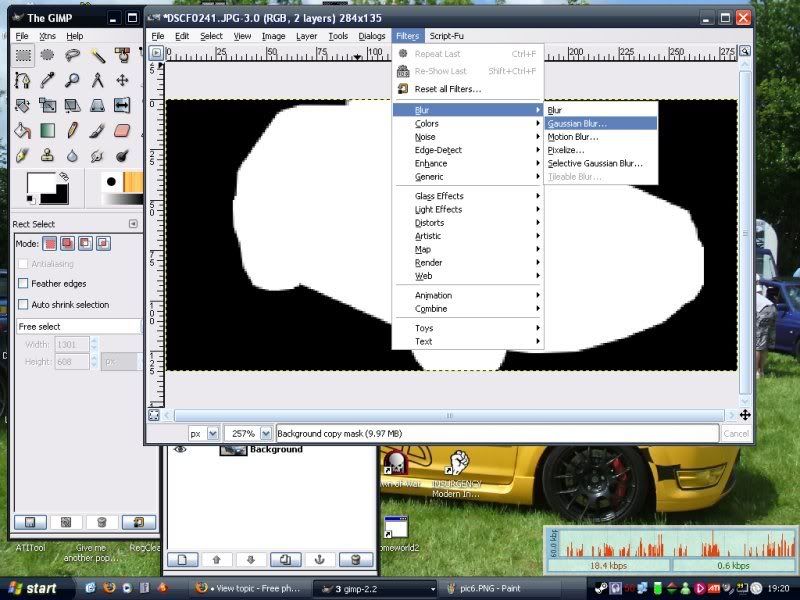
Now select the background layer again, and apply a gaussian blur to this as well, again 5 pixels will be fine.
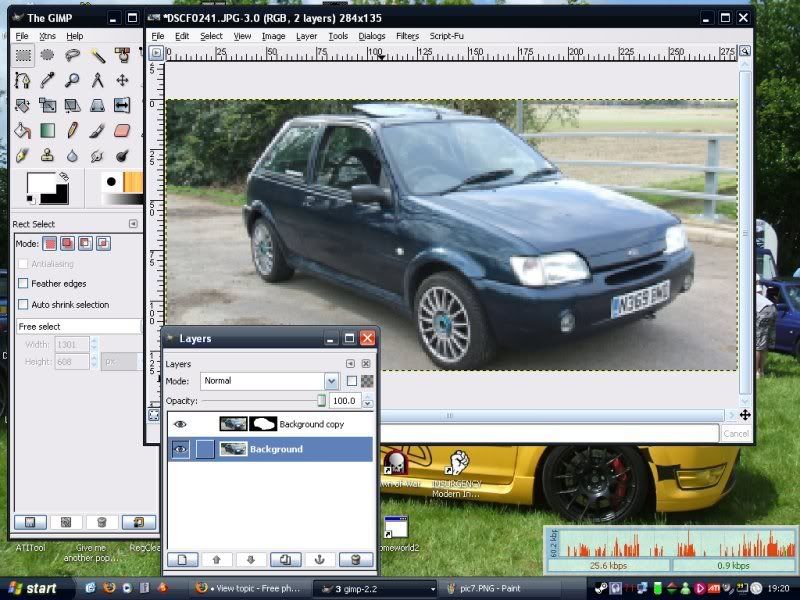
You should see that only the background blurs, and the car that we cut out earlier stays in focus
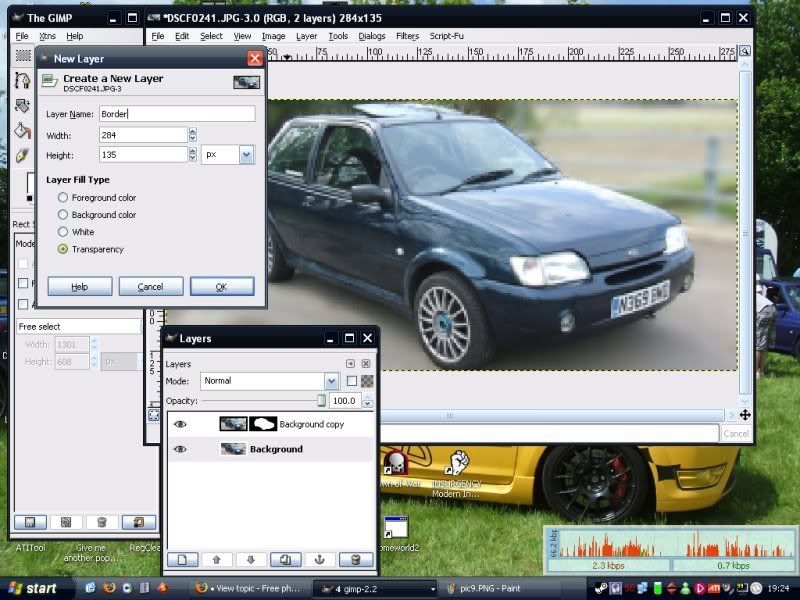
Now go to the "layers" box and click "create a new layer" in the bottom left, rename it to border, and set the layer as a transparency.
Draw a box around the whole image with the selection tool, then go to image>>shrink. Shrink the selection by 3 pixels, then invert the selection as shown.
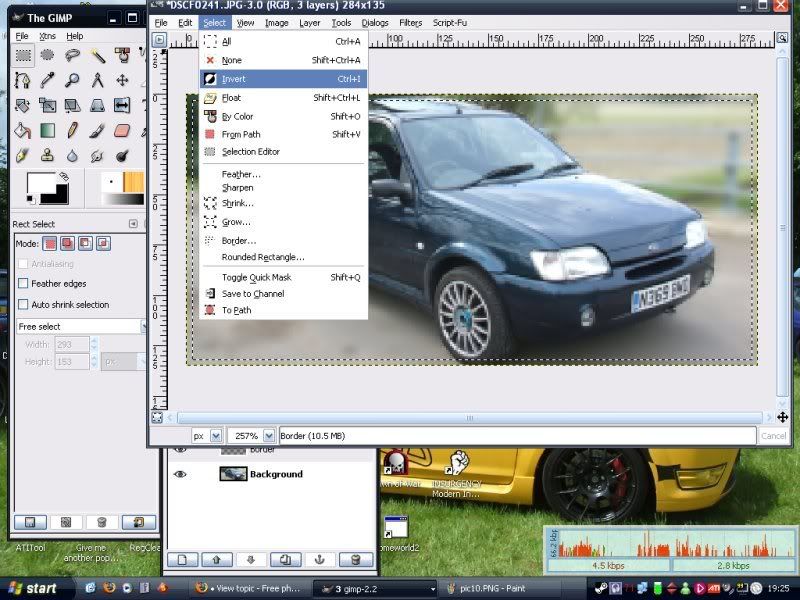
Fill the selection with white, as you did earlier.
Now select the whole image again, this time shrink the selection by 1 pixel, and fill it with black, this will give you a black outline all around the image
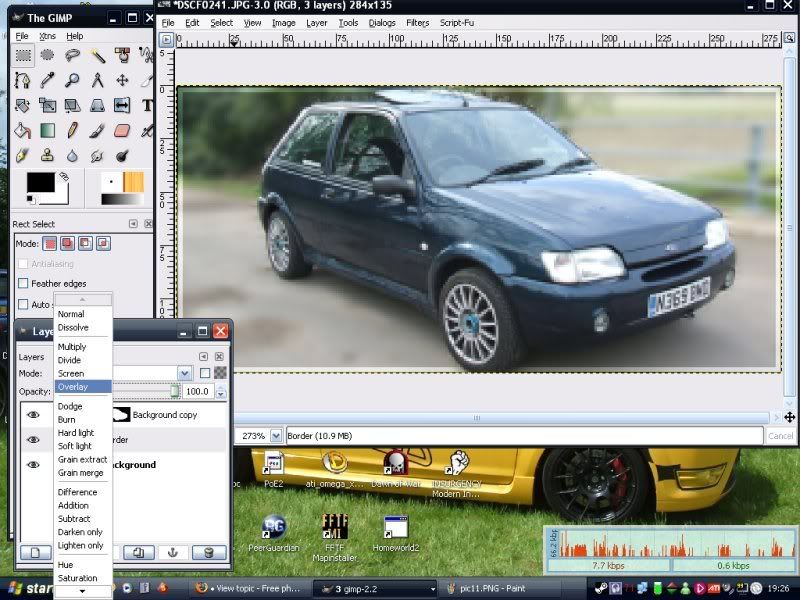
Now chose different layer options as shown below, the obvious choices are "normal" "overlay" "soft light" "grain merge" just browse through them till you find one you like.
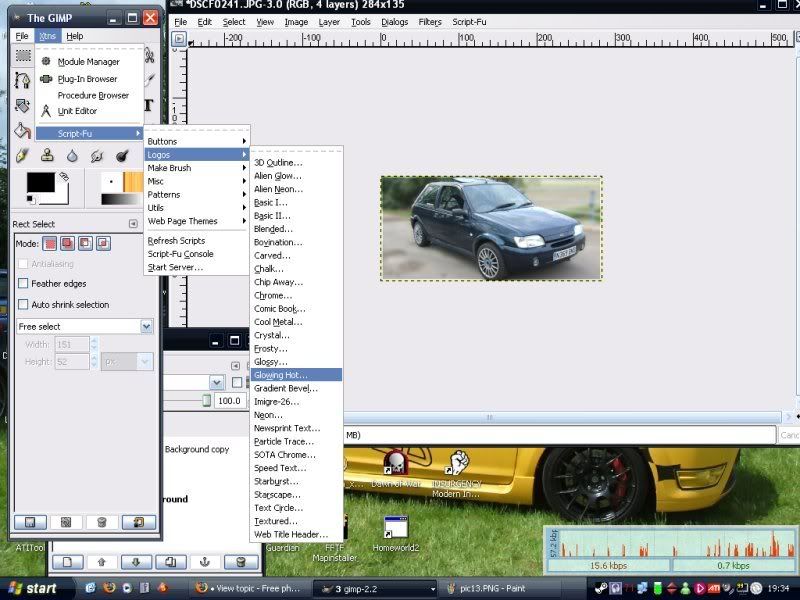
Now to make a cool name, follow the pic below to use pre scripted "logos"
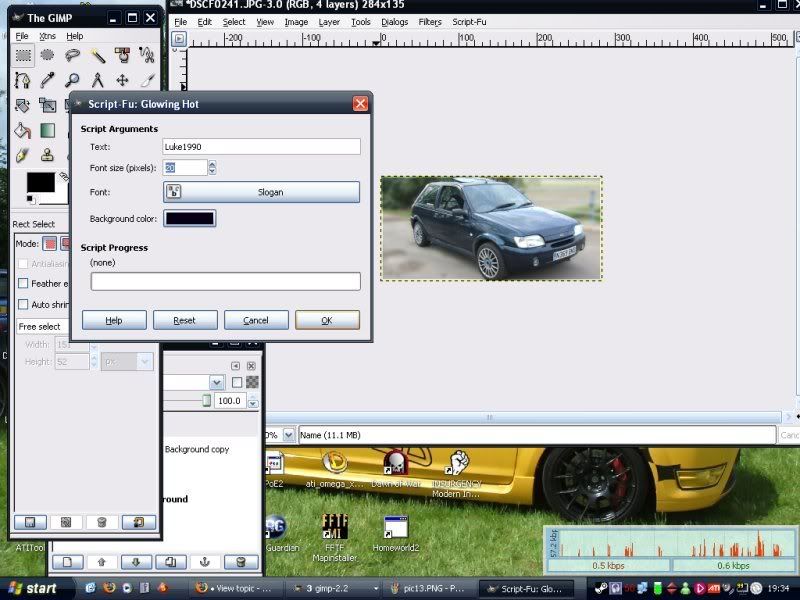
fill in the options below, the font size is perhaps a little big, but is a good starting point
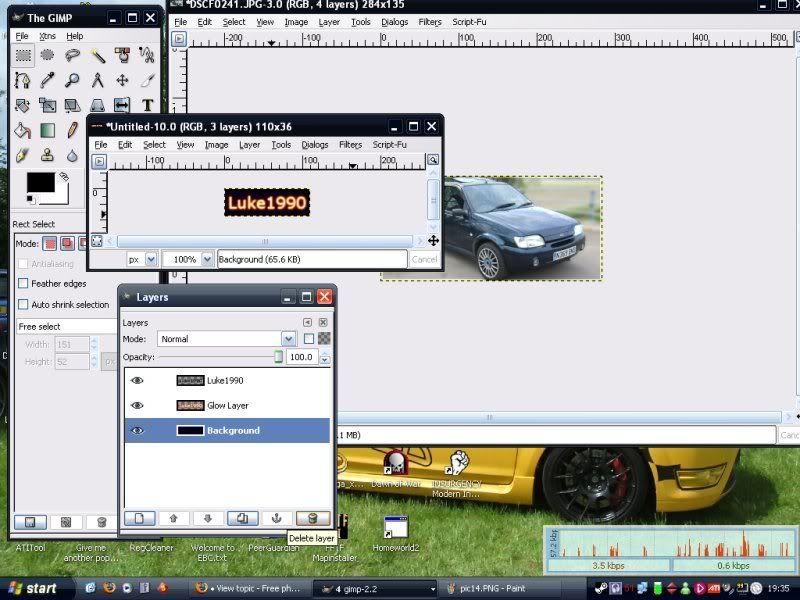
The logo will be created in its own window, click on it, then delete the "background" layer as shown.
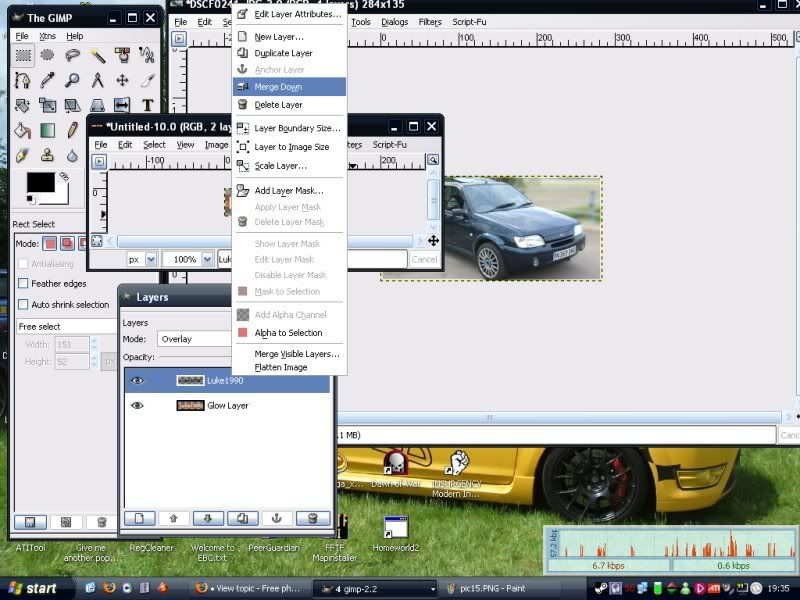
Merge the layers, otherwise when you try and copy and paste the logo you will only get a part of it.
Select the logo, Copy it, Paste it into your other image (the main sig) and position as desired.
Once youve got it where you like, merge the layers down, always merging the one above the background
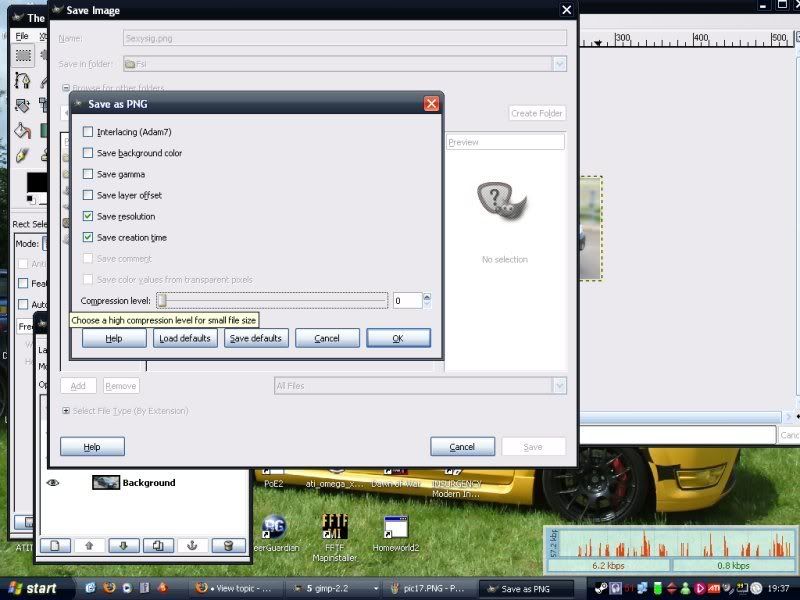
For best results save as a PNG file
do this by writing .png on the end of the filename when saving. When you click save you will get an error message, just click export.
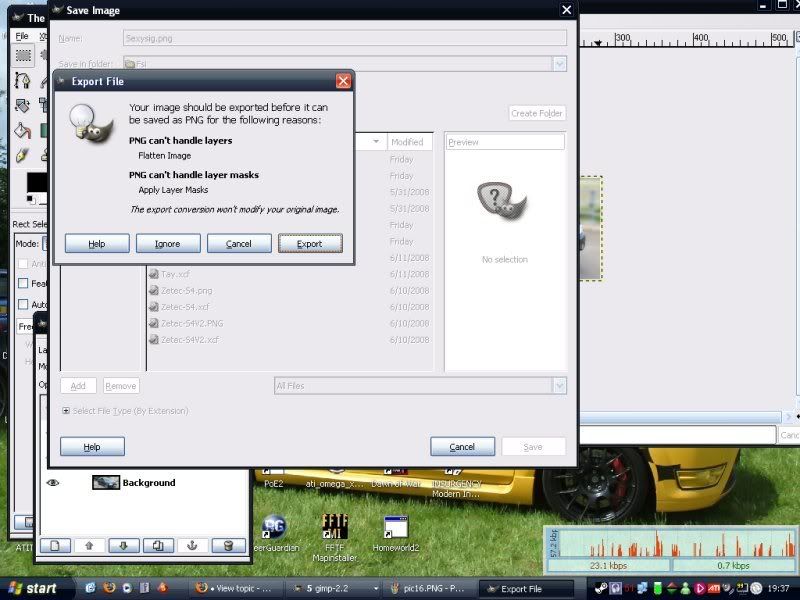
Use no compression to get the best image quality, we dont need to worry about size as its only a small image