Guide to Painting Brakes
If you’ve got some nice shiny alloys then you probably won’t want them sitting on top of dirty brown old callipers and drums so it’s worth giving them a lick of paint. You can buy brake paint from most motor parts shops, the pack I used consisted of the paint, cleaner and a brush and cost about £15 from demontweeks. You
can get all sorts of colours, a lot of people do them red but I chose silver as it contrasts well with my black paintwork.
Most of these pictures are of the rear drum brakes as I did the callipers the week before, but the same principles apply. You can remove the callipers before you paint them if you want. You will need a 7mm Allen key bit to get the bolts out, and you’ll need to either clamp the brake hoses and remove them from the callipers, or keep the callipers supported while you paint them so the hoses aren’t put under strain. Personally, I just left them on the disc and used a small paintbrush to do the fiddly bits.

My rear wheel before painting.
You will need the following tools:
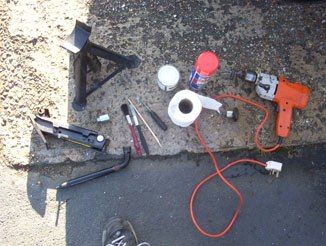
• Jack, axle stand and wheel brace etc. (locking wheel nut key as well!)
• Wire brush (or use a drill with a wire brush bit like I did)
• Coarse wet & dry paper
• Old rag or lots of tissues
• Dust mask (you should wear this when you clean the brakes as brake dust contains asbestos)
• Brake parts cleaner (mine came in a spray can with the paint)
• Brake paint and an old stick to mix it with
• Two or three brushes of different sizes
• Flat headed screwdriver
First off loosen the wheel nuts then jack the car up at the nearest jacking point and get an axle stand under it. I used the jack you get with the car and put the stand under the point as recommended in the Haynes manual. Don’t try doing the whole thing without an axle stand, it’s dangerous!
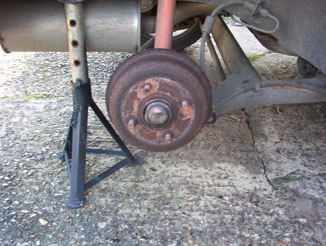
My drums looked like this – not very pretty eh?
Get the wheel off and then put your dust mask on. Now you can get to work cleaning all the crap off the drum. You can do it by hand with a wire brush but I did it the quick way by using an electric drill with a wire brush bit.

Attack all that rust with your wire brush!
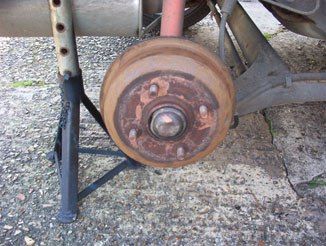
The drum after a good wire-brushing
Once you’ve got the worst of the rust off, give the drum a spray with brake cleaner. If you’ve not got a steady hand then use some masking tape to cover up the rubber brake hoses behind the drum as you don’t want loads of the brake cleaner getting on the rubber.
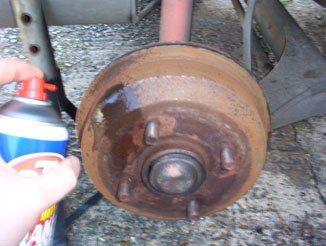
Spray on that brake cleaner!
Give it a few seconds and then wipe it off thoroughly with an old rag (you can use tissues but I found that they leave bits all over the drum). Once its dry give it a couple of rub-downs with coarse wet and dry paper, spraying it with brake cleaner and wiping it in between. You probably won’t be able to get most of the rust and crap off but as long as it doesn’t make the rag too dirty it’s clean enough to paint on.
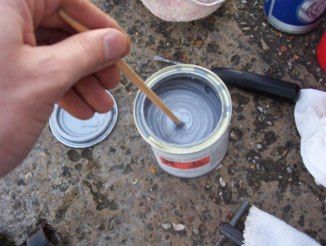
Mix up the paint with a stick
Now you can open the paint can. Some of these paint packs have two tins, of paint and hardener, which have to be mixed before you apply it. In this case you will need to plan in advance and do all the brakes within a day otherwise the paint will harden and be unusable at a later date. My pack only had one can so I did the callipers one weekend and the drums the next.
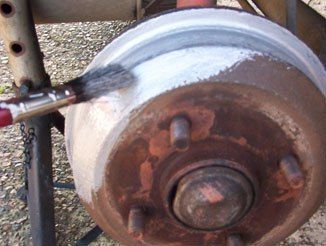
Start painting!
If you want to be fussy you can mask off parts of the drum you don’t want to paint with masking tape (i.e. the centre bit where the wheel attaches to) but I just painted round it carefully. Apply the paint evenly. I found it was best to do a single layer, wait a bit for it to start drying, and then brush a thin layer over the top to get the silver to shine rather than looking grey. Brush around the drum, not in blotches or from the centre outwards.
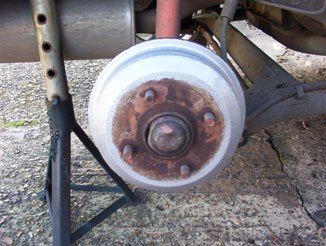
The finished article
Now its all done you should really leave it for a couple of hours to dry before you put the wheel back on, but as long as no parts of the wheel are touching the drying paint I’d say it’s okay to put the wheel on straight away and get the car back on the ground. Don’t try and drive the car immediately though – leave it overnight for the paint to dry completely. As you can see my wheel bolts have some copper grease on them so if you have any handy now is a good time to slap some on.
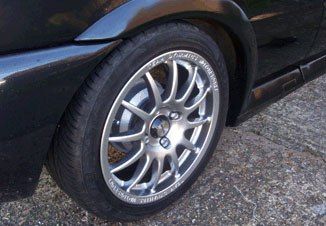
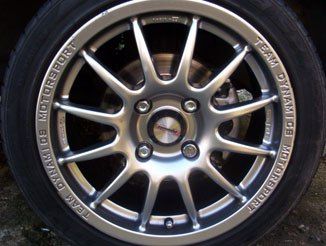
These pictures show the finished rear drum with the wheel back on, and the front calliper that I painted silver the week before.
Any additions or suggestions to this guide please post below!