Okay, here is a guide for Respraying and Fitting your SI bumpers onto your MK3 Fiesta
First of all, you will need to remove the old paintwork on your new SI bumpers.
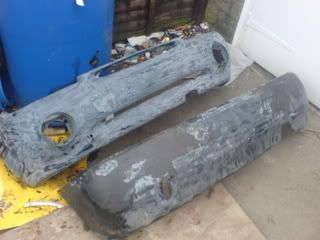
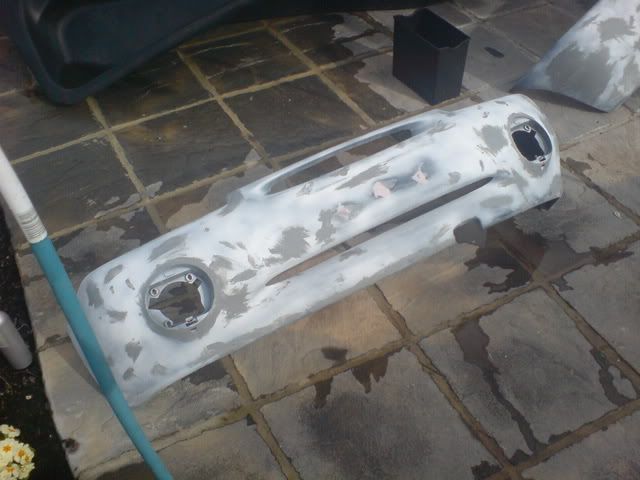
Here is how i received my Bumpers from a local Scrapyard, they set me back ÂŁ10 and had a few small scratches and a
major scrape on the corner.
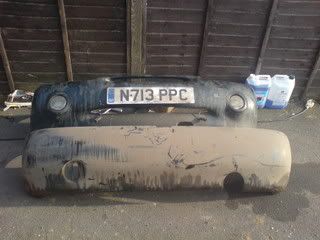
They are a bit dirty but thats not a problem.
I then fitted them to my car so i could clean them, and to see what they looked like.
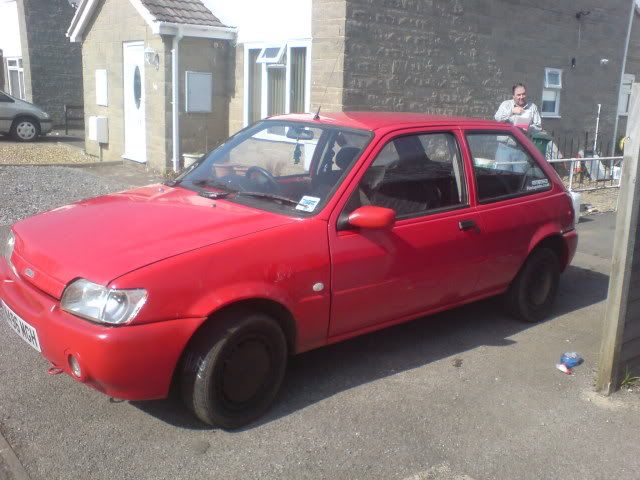
Front
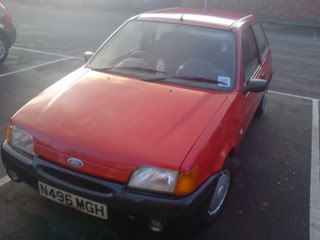
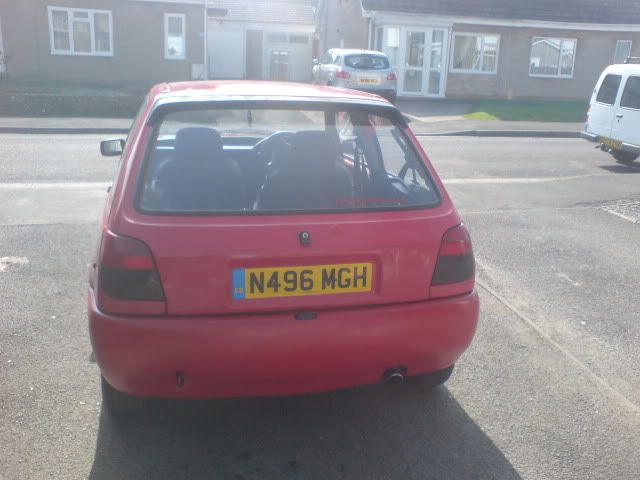
Rear

Looks pretty smart, but, the wrong colour!
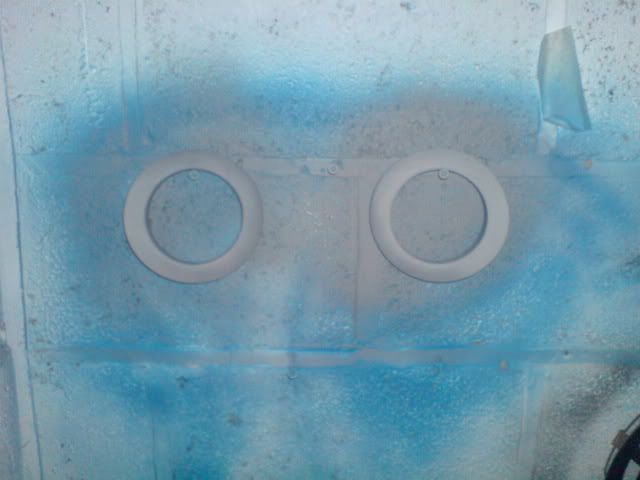
So i started by removing the Fog light Surrounds, the trick with this is to get underneath the fog lights and there
is a phillips head screw, undo this and the fog light surrond will come off, just dont try to pull it off, as it
will break.
Then you will need to undo the 3 bolts holding each fog light into the bumper, These are also phillips screws. Once
they are removed, there is a plasic ''plug'' holding it there, just turn these clockwise and it will pop out.
Now you have the bumper stripped down, you are ready to start!
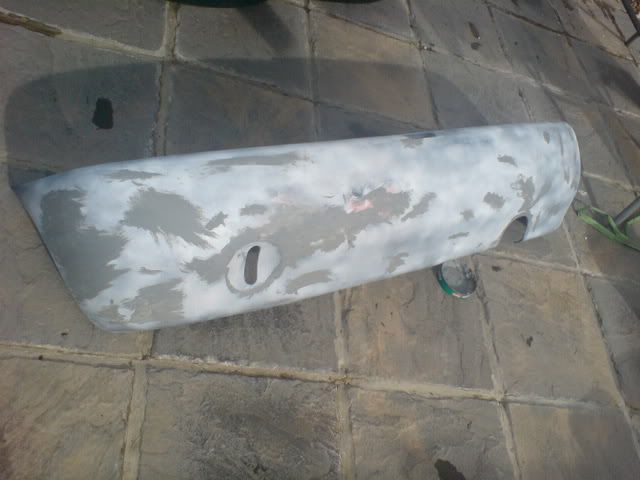
Start by using a heavy grit of sandpaper to take the shine and paint off
If you noticed i didnt remove all paint, this is because it wasnt required. As long as it is smooth to the touch,
that is all that matters.
I then gave it a coat of primer so i could see all the imperfections in the bumpers...There were lots!
I then started using a lighter grit wet and dry paper.
Once i got most of the bumper smooth, so i started to use 'Cellulose Putty' to sort out the deep scratches.
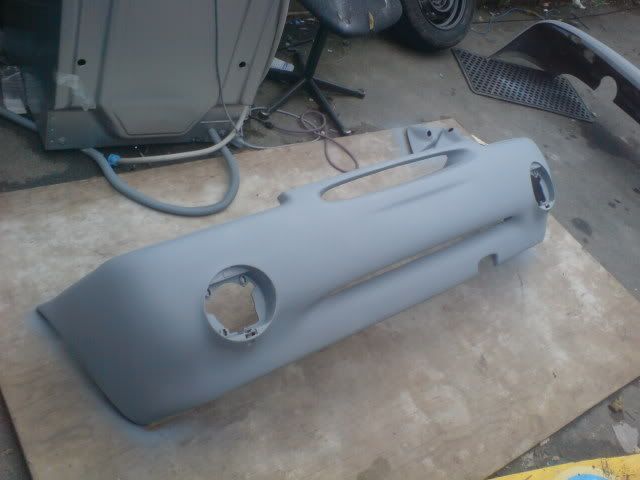
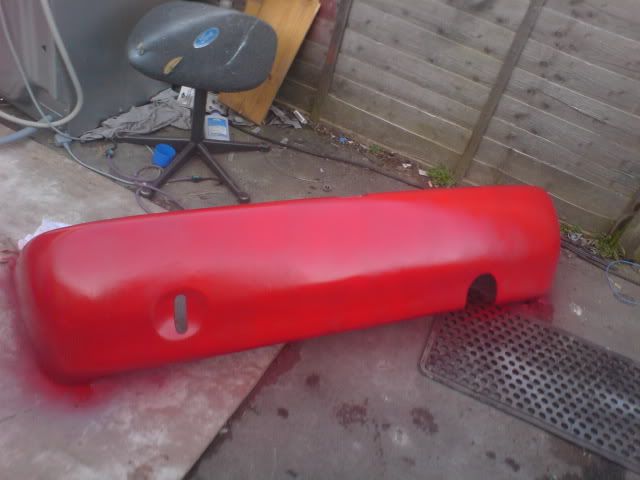
I decided to smooth over the bumper holes because i wasnt going to use a number plate on the front
After i filled over the inperfections, i sanded this down with a heavy grit wet and dry, and got lighter and
lighter until it was perfect.
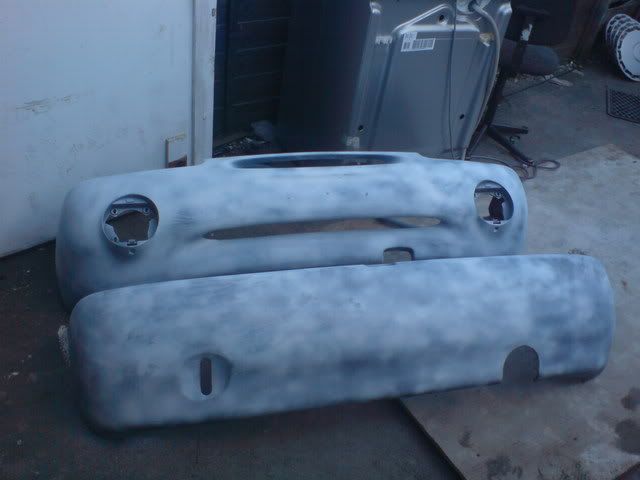
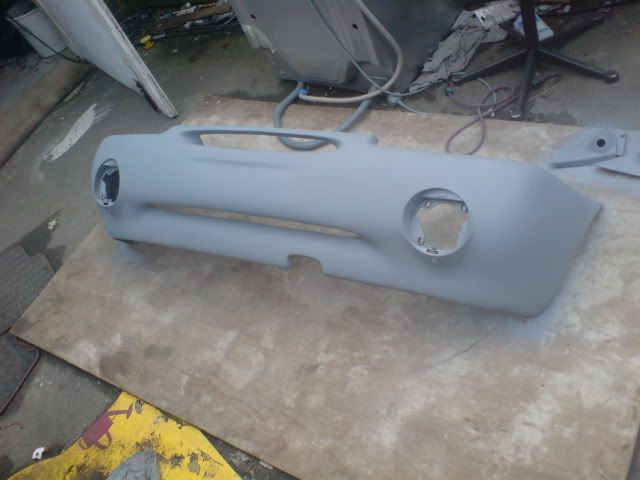
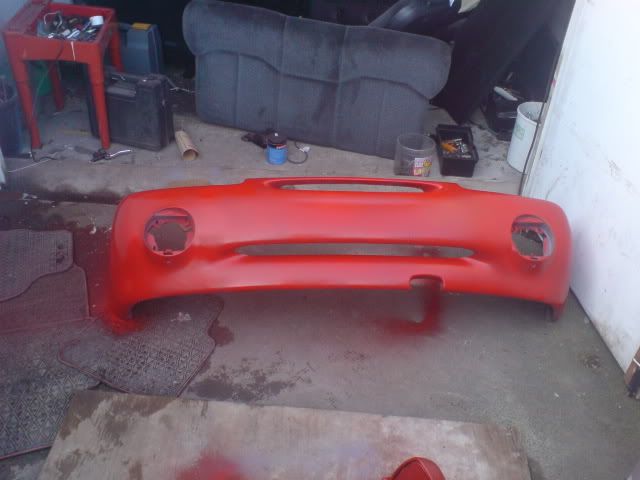
I then painted this with grey primer (because i was spraying red)

I also nearly forgot to do my foglight surrounds!
So i then used a fine grit wet and dry to make sure the bumpers were 100% smooth!
Now was the time to clean the bumpers up ready from spray!
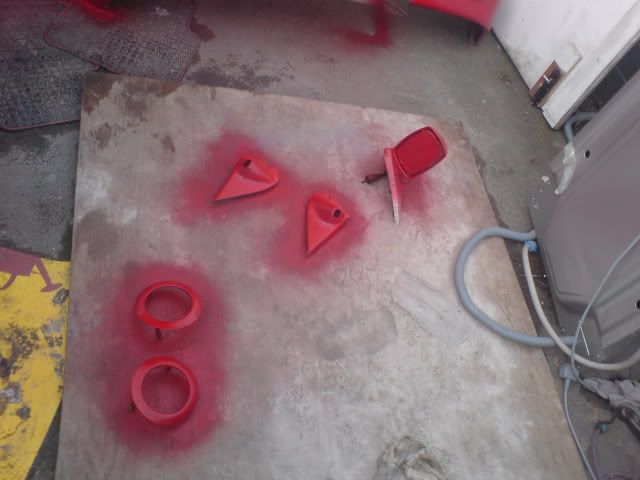
Start by using very light misty coats of paint, if you spray heavily, you will risk creating runs, which are a pain to get rid of, not to mention the time it takes!
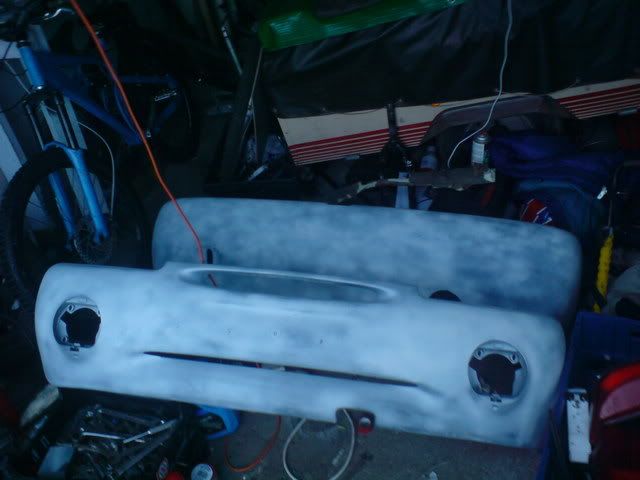
Heres my bumpers (plus other things) after one coat

Here is the bumpers after about 4 coats of paint.
Then you will need to give the bumpers a few coats of clear laquer. This is to create a shiny finish to the
bumpers, and to protect them
Start doing light coats, doing this will create an even finish and there will be no runs.
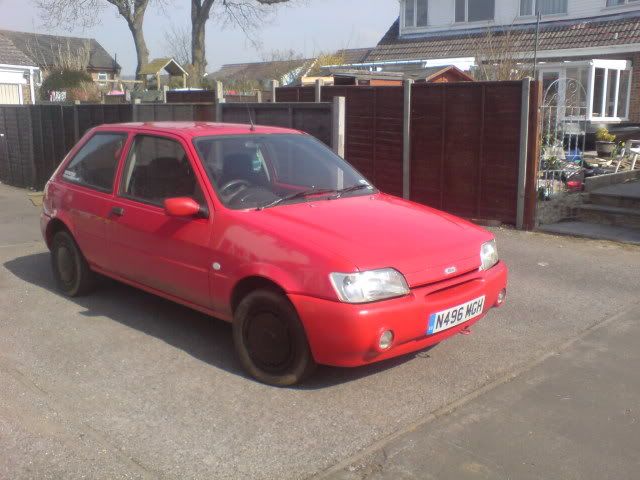
Here they are fitted!